Ever wonder what’s slowing down your website? You’ve poured your soul into your website, but visitors are leaving faster than they arrived. What if I told you there’s a fix? Imagine a site where photos load instantly, captivating every visitor. It’s not a dream – it’s achievable. Ready to upgrade your website? Follow our guide to turbocharge your site’s image loading speed.
Reasons Why Photos Slow Down Your Website
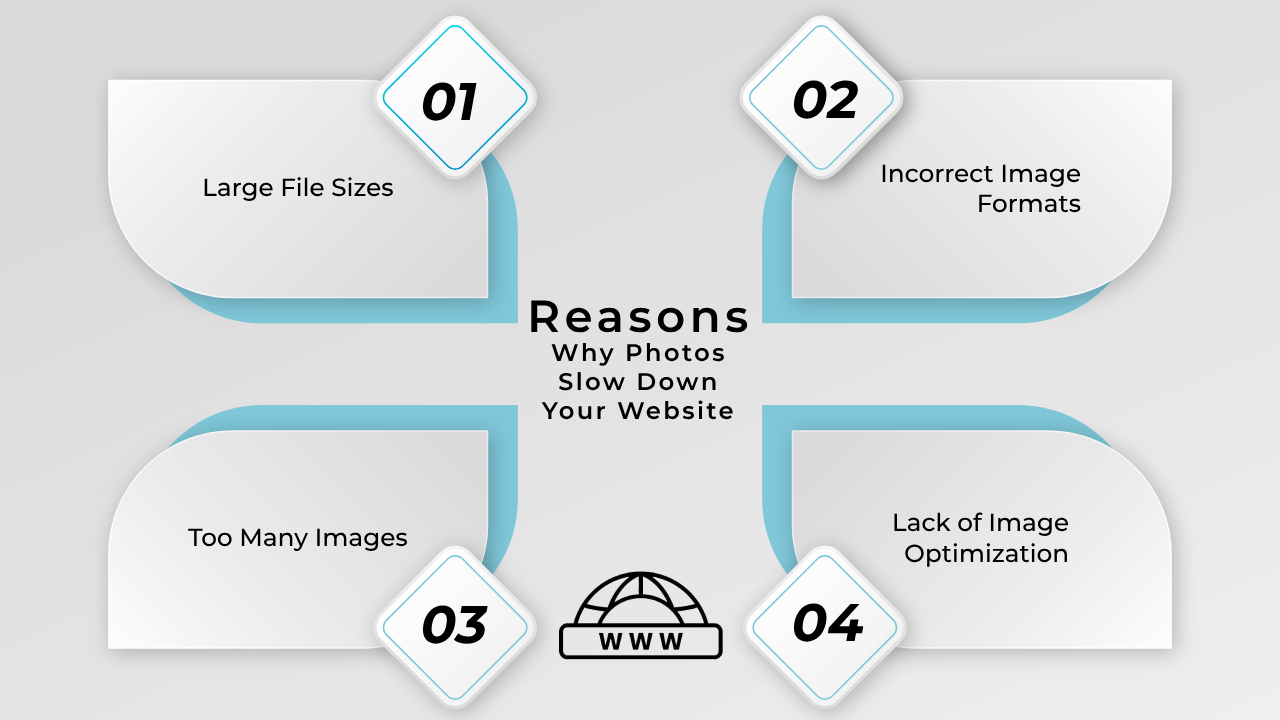
Photos can significantly slow down your website for several reasons:
- Large file sizes: High-resolution, uncompressed images consume a lot of bandwidth and take longer to load. Uploading large images and scaling them down in the code doesn’t optimize them.
- Incorrect image formats: Using the wrong file format can increase image sizes unnecessarily. JPEG is better for photos, while PNG is better for graphics with transparent backgrounds. Avoid using formats like TIFF or BMP which are uncompressed.
- Too many images: Having a large number of images on a page leads to more HTTP requests, which can slow down the initial page load. Prioritize loading the most important images first.
- Lack of image optimization: Images that are not resized, compressed, or have descriptive filenames and alt text are considered unoptimized. Optimizing images is crucial for fast loading times.
Techniques to Improve Website Loading Speed
Compress Your Images
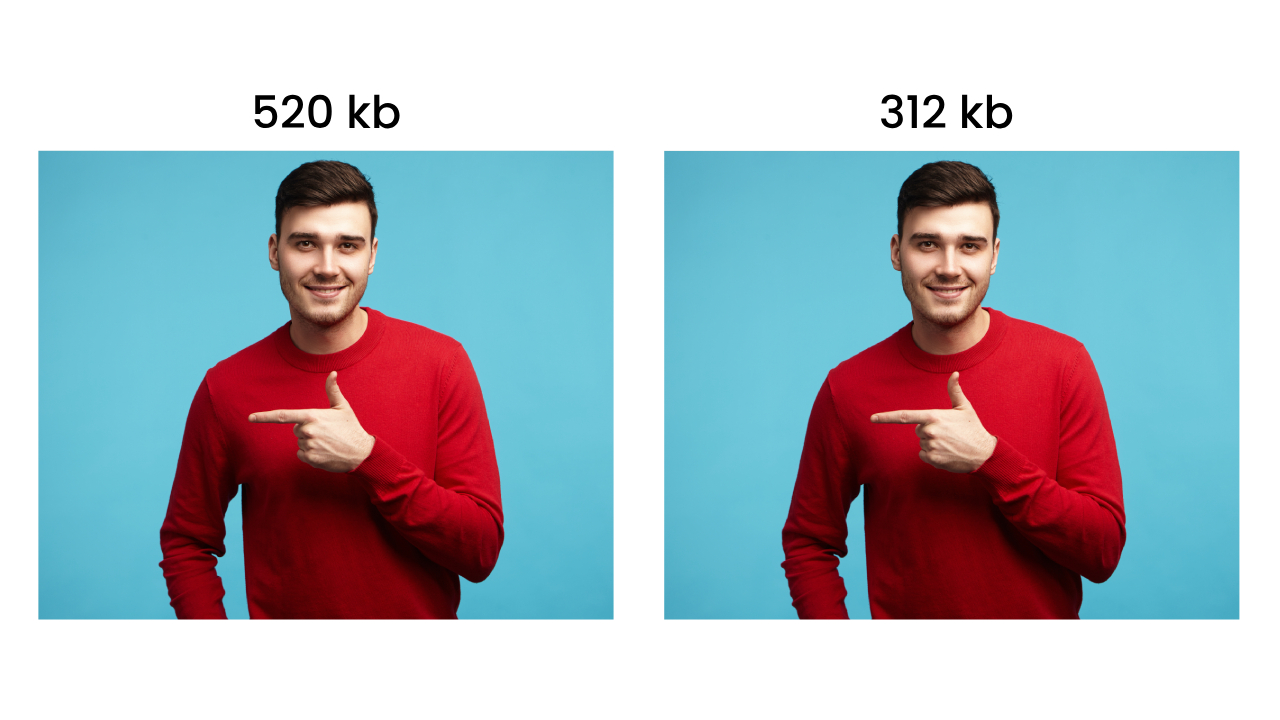
Image compression is one of the most effective ways to reduce the file size of your photos without significantly affecting their quality. There are two main types of image compression:
- Lossless compression: This method reduces the file size without losing any image quality. It’s ideal for images with text or simple graphics.
- Lossy compression: This method reduces the file size by removing some image data, which can result in a slight loss of quality. It’s ideal for photos and complex graphics.
In this comparison, the image on the left is the original uncompressed version, while the image on the right has been resized and compressed by 60%.
Notice how the compressed image on the right appears slightly softer with some loss of fine detail compared to the original. Despite this, the overall visual quality remains acceptable, demonstrating the effectiveness of image compression in reducing file size while preserving image content.
You can use online tools like TinyPNG or Kraken.io to compress your images before uploading them to your website.
Use the Correct Image Format
Different image formats are suitable for different types of images. Here are some guidelines:
- JPEG: Use JPEG format for photos and images with complex colors and gradients.
- PNG: Use PNG format for images with transparent backgrounds, such as logos and icons.
- GIF: Use GIF format for simple images with limited colors, such as animated graphics.
Resize Your Images
Uploading large, high-resolution images and letting your website resize them can significantly slow down your website. Instead, resize your images to the exact dimensions you need before uploading them to your website.
You can use image editing software like Adobe Photoshop or GIMP to resize your images. Alternatively, you can use online tools like Canva or Pixlr.
Lazy Load Your Images
Lazy loading is a technique that delays the loading of images until they are needed. This means that only the images that are visible on the screen will load initially, and the rest will load as the user scrolls down the page.
You can implement lazy loading using JavaScript libraries like Lazy Load or by writing custom code.
Use a Content Delivery Network (CDN)
A CDN is a network of servers distributed across multiple locations that deliver content to users based on their geographic location. Using a CDN can significantly improve your website’s loading times by reducing the distance between the user and the server serving the content.
Many web hosting providers offer CDN services, or you can use a third-party CDN provider like Cloudflare or Amazon CloudFront.
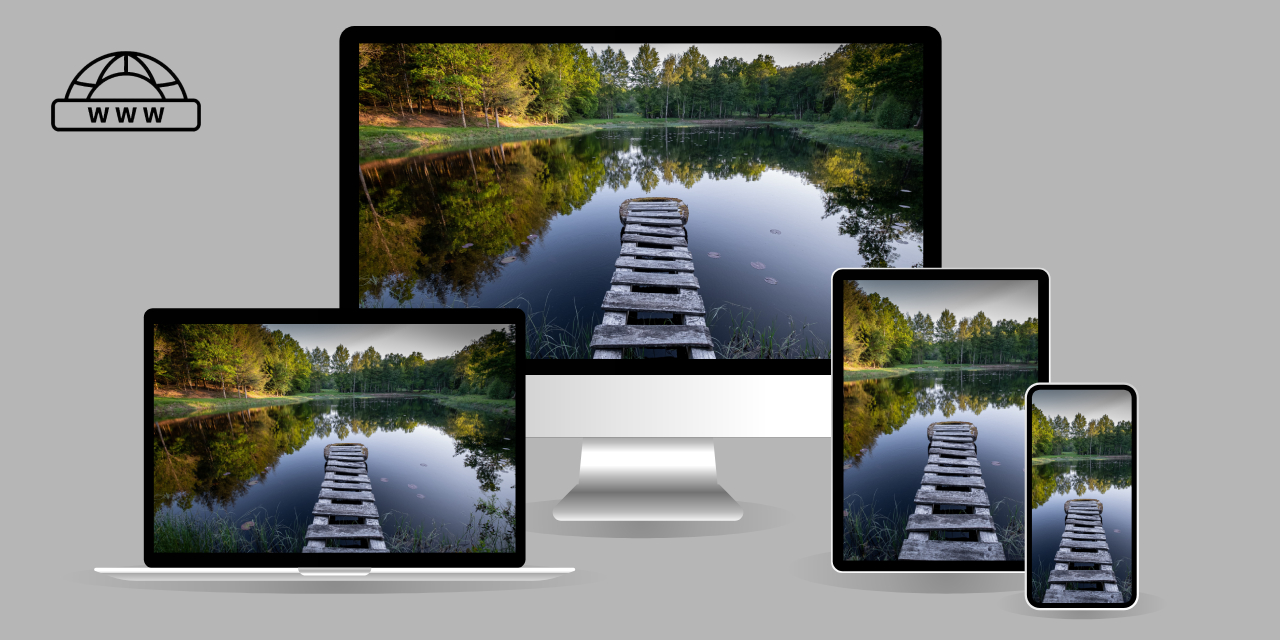
Optimizing Images for Responsive Design
Ensure your images are optimized according to device by using responsive design techniques. This involves serving appropriately sized images based on the user’s device resolution, ensuring faster loading times and improved user experience. Implementing srcset attributes in HTML or using CSS media queries can dynamically adjust image sizes for various screen sizes, optimizing performance across desktops, tablets, and mobile devices. By prioritizing responsive image optimization, you can deliver a seamless browsing experience regardless of the user’s device.
By implementing these techniques, you can significantly improve your website’s loading times and provide a better user experience for your visitors. Remember, faster websites not only keep users engaged but also improve your SEO rankings, leading to more traffic and potential conversions.
Best Image Formats for Optimizing Website Loading Speed
- WebP: WebP is one of the most efficient image formats for the web. It offers superior compression capabilities without compromising image quality, resulting in smaller file sizes that lead to faster load times. WebP supports lossless and lossy compression, transparency, and animation. It’s an excellent choice for web images, especially when targeting modern browsers that support the format.
- JPEG/JPG: JPEG is a widely supported raster image format with lossy compression. It’s commonly used for saving photographs and complex images on the web due to its relatively small file sizes. JPEG is a good choice for web images, image sharing, and printing. However, it doesn’t support transparency and may not be ideal for images with text or simple graphics.
- PNG: PNG is a raster image format that supports lossless compression and transparency. It’s suitable for web images, text-focused images, logos, and high-resolution pictures. PNG files are larger than JPEG but can provide better quality for images with text or simple graphics.
- GIF: GIF is a raster image format that supports lossless compression and simple animations. It’s ideal for simple animations and demonstrating tutorial steps. However, GIF is not suitable for images that require rich colors or photographic quality.
Testing Your Website for Image-Related Issues
To test your website for image-related issues, manually inspect pages for visual anomalies, utilize page speed testing tools like Google PageSpeed Insights, optimize images with compression tools, analyze image loading times using browser developer tools, ensure responsiveness across devices, check alt text and for broken images regularly. These steps will help identify and resolve any issues efficiently.
Conclusion
In a digital world where speed is paramount, optimizing image loading on your website is essential. By compressing images, using the correct formats, resizing appropriately, implementing lazy loading, and leveraging content delivery networks, you can ensure fast loading times and an enhanced user experience. So, take action now to boost your website’s performance and keep visitors engaged and satisfied.